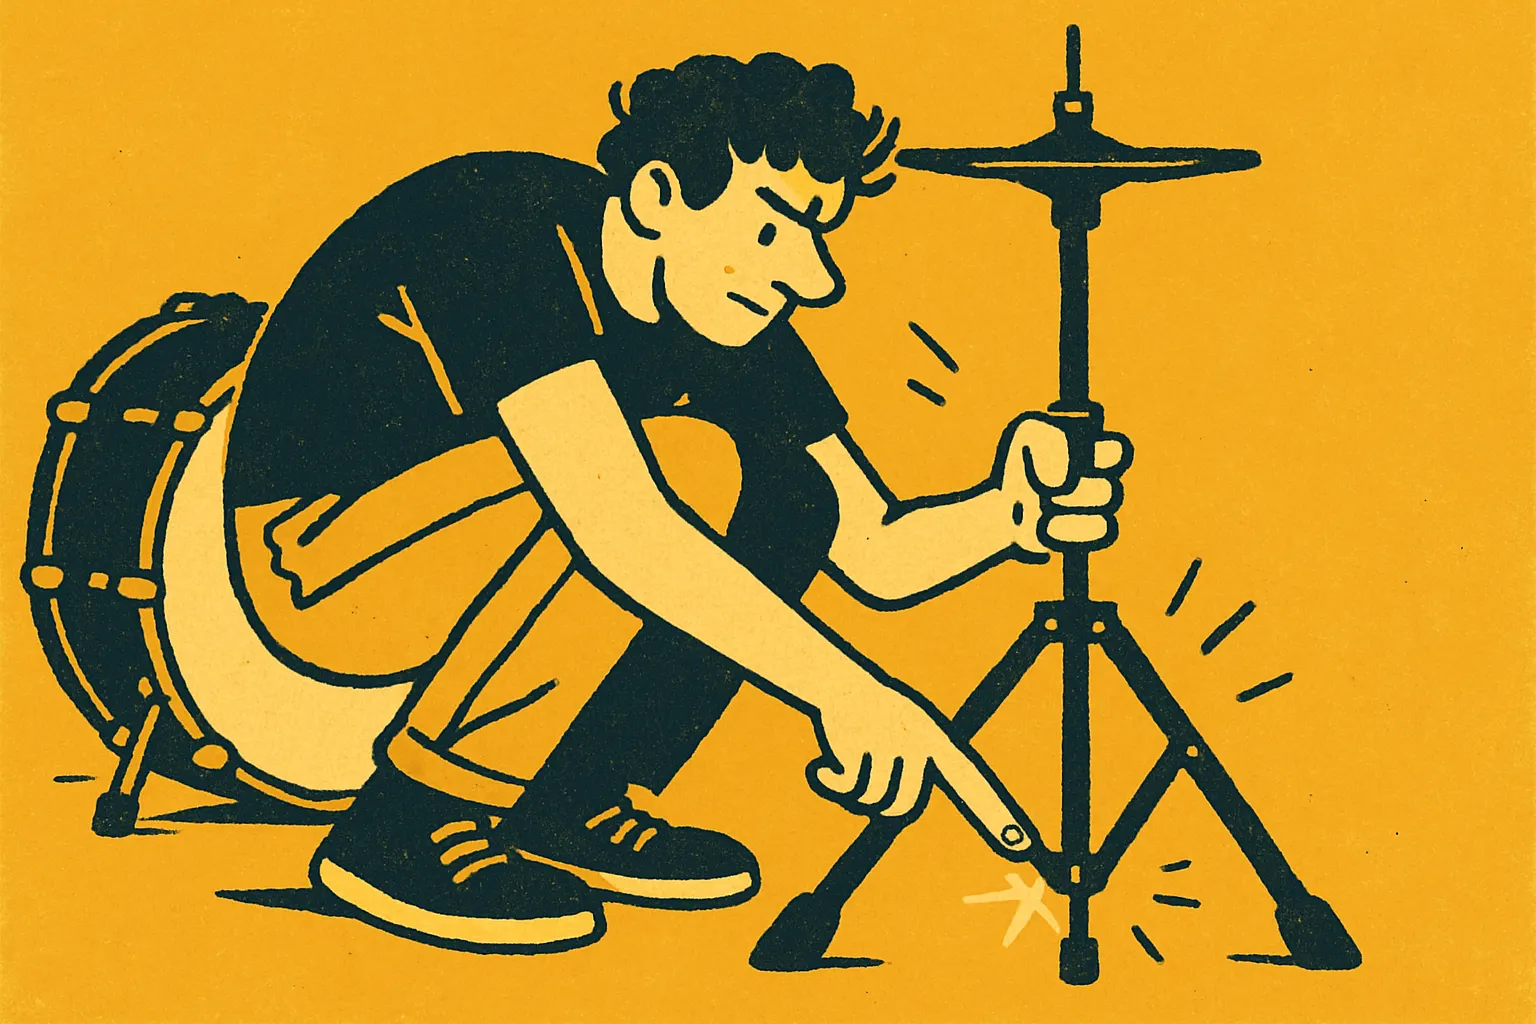
Step 1: Set up the base first
Before anything touches the rod, get the tripod right. Spread the three legs evenly and flip down the spurs (the small metal feet) so the stand can't tip or slide while you're pushing the pedal with your foot. A hi-hat stand that rocks around is annoying to play and can dump your cymbals on the floor, so this is worth doing properly even though it feels like the boring part.
Step 2: Know the parts before you assemble
A typical hi-hat stand comes apart into a few pieces:
- The base with the foot pedal
- A threaded rod that runs up through the middle
- A washer and a couple of felt discs
- The clutch (the piece that grips the rod and holds the top cymbal)
- Two cymbals — a heavier bottom one and a lighter top one
Felts sit between metal parts (cymbal and clutch, cymbal and stand) so the cymbals aren't resting directly on metal, which would kill the sound and eventually damage the edges.
Step 3: Handle the rod gently
When you slide pieces onto the rod, go slowly. The rod is thin and one of the easiest parts of the whole stand to bend or damage if you force something onto it or drop the stand while it's extended. If a felt or cymbal feels stuck, stop and check the angle instead of pushing harder.
Step 4: Mount the bottom cymbal
The bottom cymbal sits directly on the stand, resting on a felt on top of the pedal mechanism. It goes on upside down — bell facing down, so the two cymbals meet edge-to-edge when the top one comes down on it. This one doesn't move much once it's placed; it's the top cymbal that does the work.
Step 5: Build the clutch
To get the clutch ready, unscrew its wing nut and slide the clutch off the rod if it came pre-attached. You'll thread it back onto the rod once the top cymbal is in place. This is a part beginners often fumble with, partly because the wing nut is small and easy to overtighten — hand-tight is enough for now.
Step 6: Mount the top cymbal and secure the clutch
Slide the top cymbal (bell up, this time right-side up) onto the clutch, with a felt between the cymbal and the clutch's metal plate. Once it's seated, tighten the clutch's wing nut so the cymbal is held firmly to the rod. This is the connection that actually opens and closes your hi-hat when you press the pedal, so it needs to be snug — not so tight you crush the felt, but tight enough that the cymbal doesn't slide on its own.
Step 7: Set the height
Only after the clutch is tightened should you set the upper height adjustment — the knob further down the rod that controls how high the top cymbal sits above the bottom one when the pedal is up. Set the clutch first, then dial in height, not the other way around, or you'll be re-doing it twice.
Step 8: Line up the cymbals with the tilter
Many clutches have a small tilter that lets the top cymbal sit at a slight angle instead of perfectly flat. Adjust it so the top cymbal overlaps the bottom one slightly on the side closest to you (where your stick hits). This small overlap means your stick lands more on cymbal and less on empty air or stand hardware, which can cut down on stick wear and keep your hi-hat sound more consistent. If you're still on a beginner pair, it's worth checking drum sticks built for beginners — softer tips wear down fast against a badly angled hi-hat.
Common mistakes to check for
- Loose spurs or unlocked legs — causes the whole stand to creep across the floor as you play.
- Rod forced instead of guided — bends the rod slightly, which then throws off how the cymbals meet.
- Missing or worn felts — a common cause of extra clank, buzz, or a hi-hat that won't close cleanly.
- Clutch too loose — the top cymbal slips down the rod on its own or spins when you play.
- No overlap on the tilter — your stick keeps clipping the metal edge of the bottom cymbal instead of the cymbal surface.
A hi-hat clutch that's set up properly is also just quieter to play — a lot of the weird extra noises (rattles, hiss, a "clack" instead of a "chick") trace back to a felt out of place or a clutch that isn't seated right, so if something sounds off, that's worth checking before assuming it's your technique.
Quick reference: assembly order
- Set up tripod legs and spurs
- Slide felt and bottom cymbal (upside down) onto the stand
- Prep the clutch (unscrew, remove from rod)
- Slide top cymbal (right-side up) with felt onto the clutch
- Reattach clutch to rod, tighten wing nut
- Set upper height adjustment
- Adjust tilter for slight overlap toward you
Go through it once slowly the first time. After that, breaking down and rebuilding your hi-hat stand takes a couple of minutes.