What a Practice Pad Is Actually For
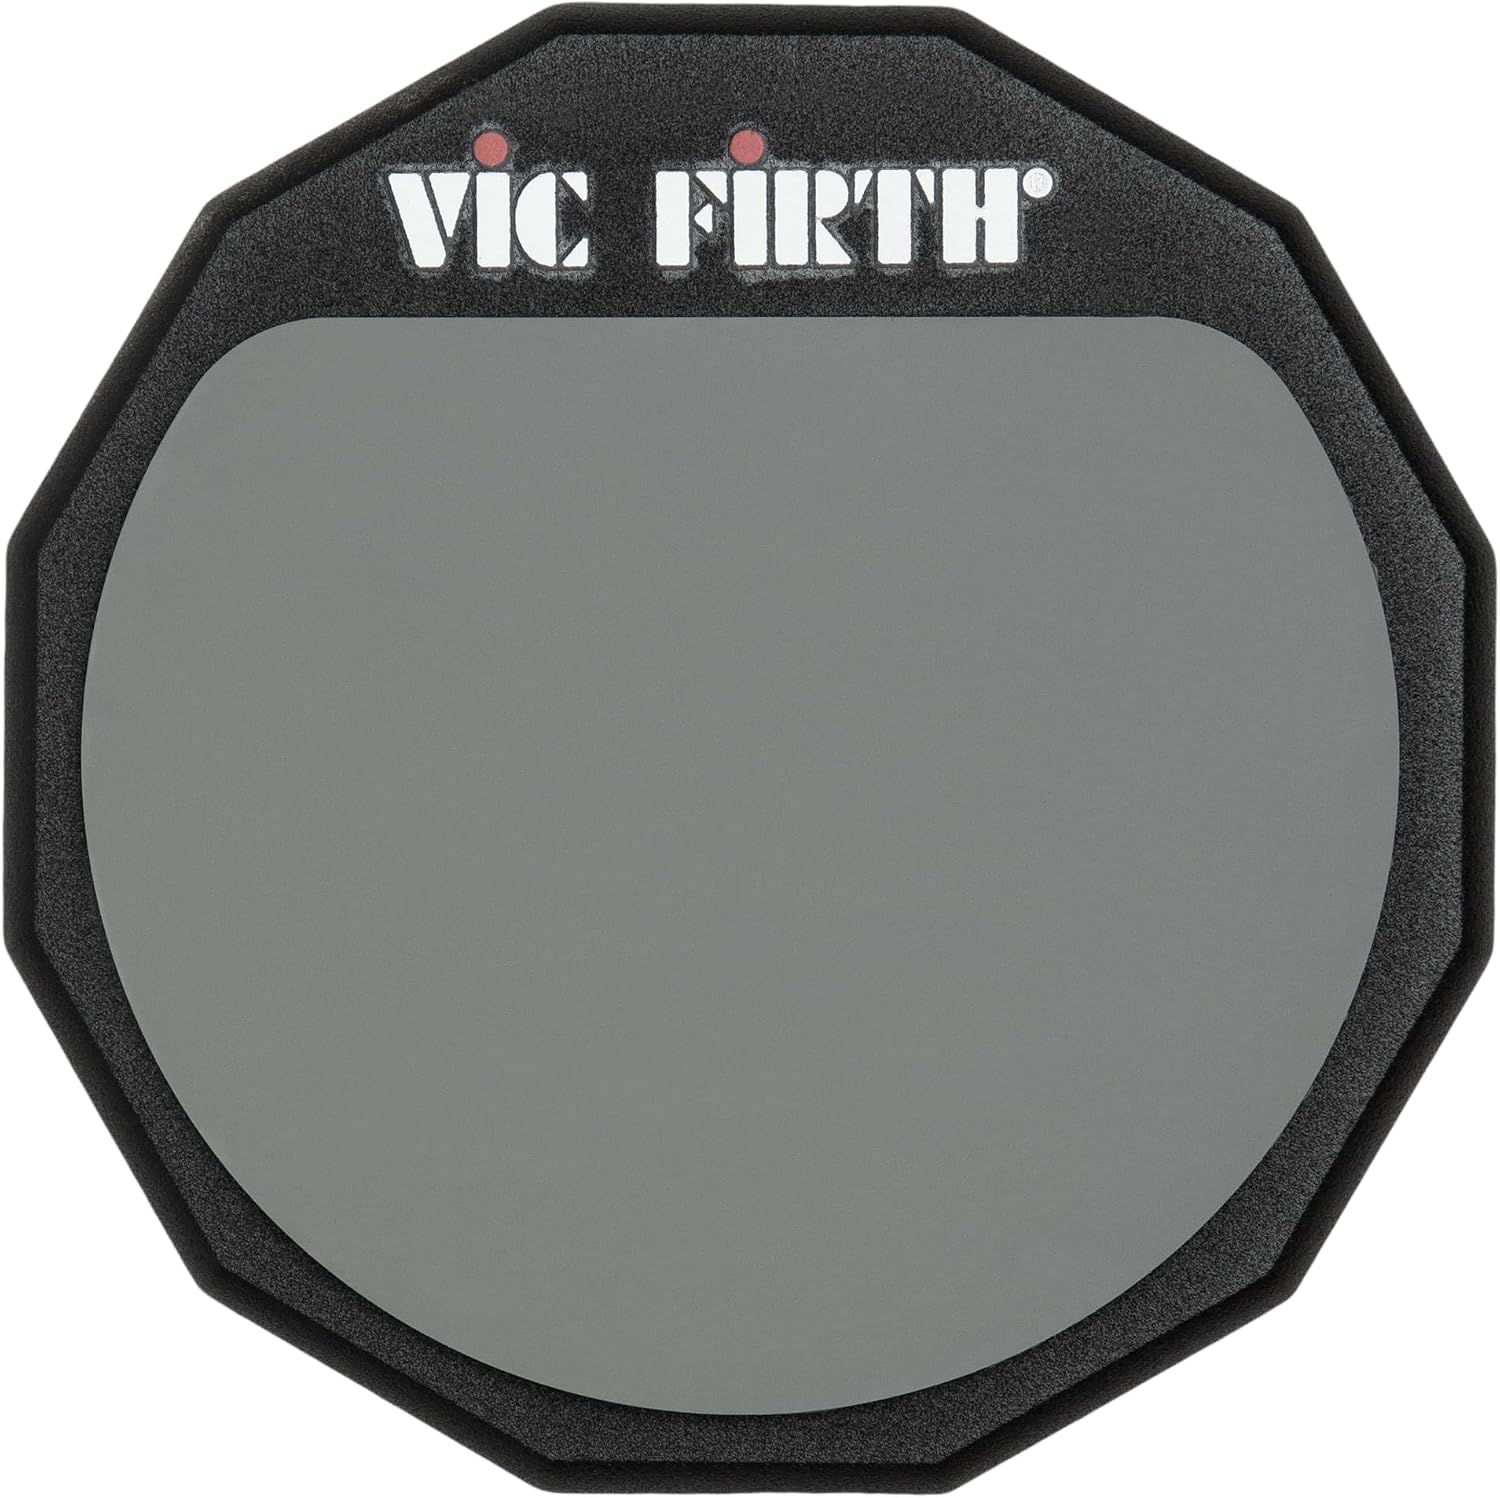
A practice pad gives you realistic rebound in a quiet, portable package, so you can work on your hands anywhere — your desk, the couch, a hotel room — without needing a full kit set up. Pads come in a few forms: single-surface pads for basic stick work, multi-surface pads with different textures per side, kick drum pads for foot practice, and full pad kits that mimic a whole drum set. Surfaces are usually rubber, neoprene, mesh, or fabric, and each feels a little different under the stick — rubber tends to be firmer and bouncier, mesh and fabric quieter and softer.
If you don't have a pad yet, our best practice pads for beginners guide breaks down which type fits a first-year player.
Grip and Setup Before You Start
You don't need fancy sticks for pad work, but a matched, beginner-weight pair makes it easier to feel what your hands are actually doing — see our beginner drum sticks guide if you're not sure what to grab. Hold the stick with a relaxed grip, fulcrum between thumb and first finger, and let the pad's rebound do some of the work instead of muscling every stroke.
Exercise 1: Single Strokes
This is the base of almost everything else you'll play. Alternate right-left-right-left at a slow, even tempo — start around 60–70 bpm on a metronome if you have one, slower if that's messy. Focus on making both hands sound the same volume and hitting the same spot on the pad. There's no speed you need to prove here; even tempo matters more than fast tempo.
Exercise 2: Double Strokes
Play two hits with the right hand, then two with the left (RRLL), letting the second hit of each pair bounce off the pad rather than forcing it with your wrist. This is where a pad's rebound quality actually matters — a pad with poor bounce makes doubles feel like extra work instead of a natural bounce. Go slow enough that both hits in each pair sound roughly equal; a loud-soft-loud-soft pattern means you're muscling the second hit instead of letting it rebound.
Exercise 3: Accents
Once singles and doubles feel steady, add dynamics. Play a steady stream of single strokes and make every fourth hit noticeably louder than the rest, keeping the other three quiet. This trains the control to make one note pop out of a pattern — useful later for fills and for playing along to songs where certain beats need to stand out.
Exercise 4: Simple Sticking Patterns
Try alternating a pattern like RLRR LRLL (a basic paradiddle shape) slowly enough that you can say the sticking out loud while you play it. Don't chase speed on this one at first — the goal is landing on the right hand every time the pattern repeats, not raw tempo.
How Long and How Often
Short, regular sessions on a pad beat one long session. Ten to fifteen focused minutes working through singles, doubles, and accents most days will do more for your control than an hour once a week. If your hands feel tense or sloppy, that's a sign to slow the tempo down, not push through it.
Common Mistakes
- Gripping too tight. A stiff grip kills the rebound the pad is designed to give you, and you end up fighting the pad instead of using it.
- Practicing only fast. Speed without evenness just bakes in sloppy timing at a higher tempo.
- Ignoring your weak hand. It's common to have one hand that's noticeably behind — spend extra reps on it instead of avoiding it.
- Skipping the metronome. Playing without a steady reference makes it hard to notice if you're speeding up or dragging.
Choosing the Right Pad
A single-surface rubber or neoprene pad around 25–30 cm (10–12 in) is enough for most of the exercises above. If you want more texture options or quieter practice for an apartment, a multi-surface pad gives you a softer side and a firmer side on one unit. Full details on types, materials, and specific picks are in our best practice pads for beginners guide.