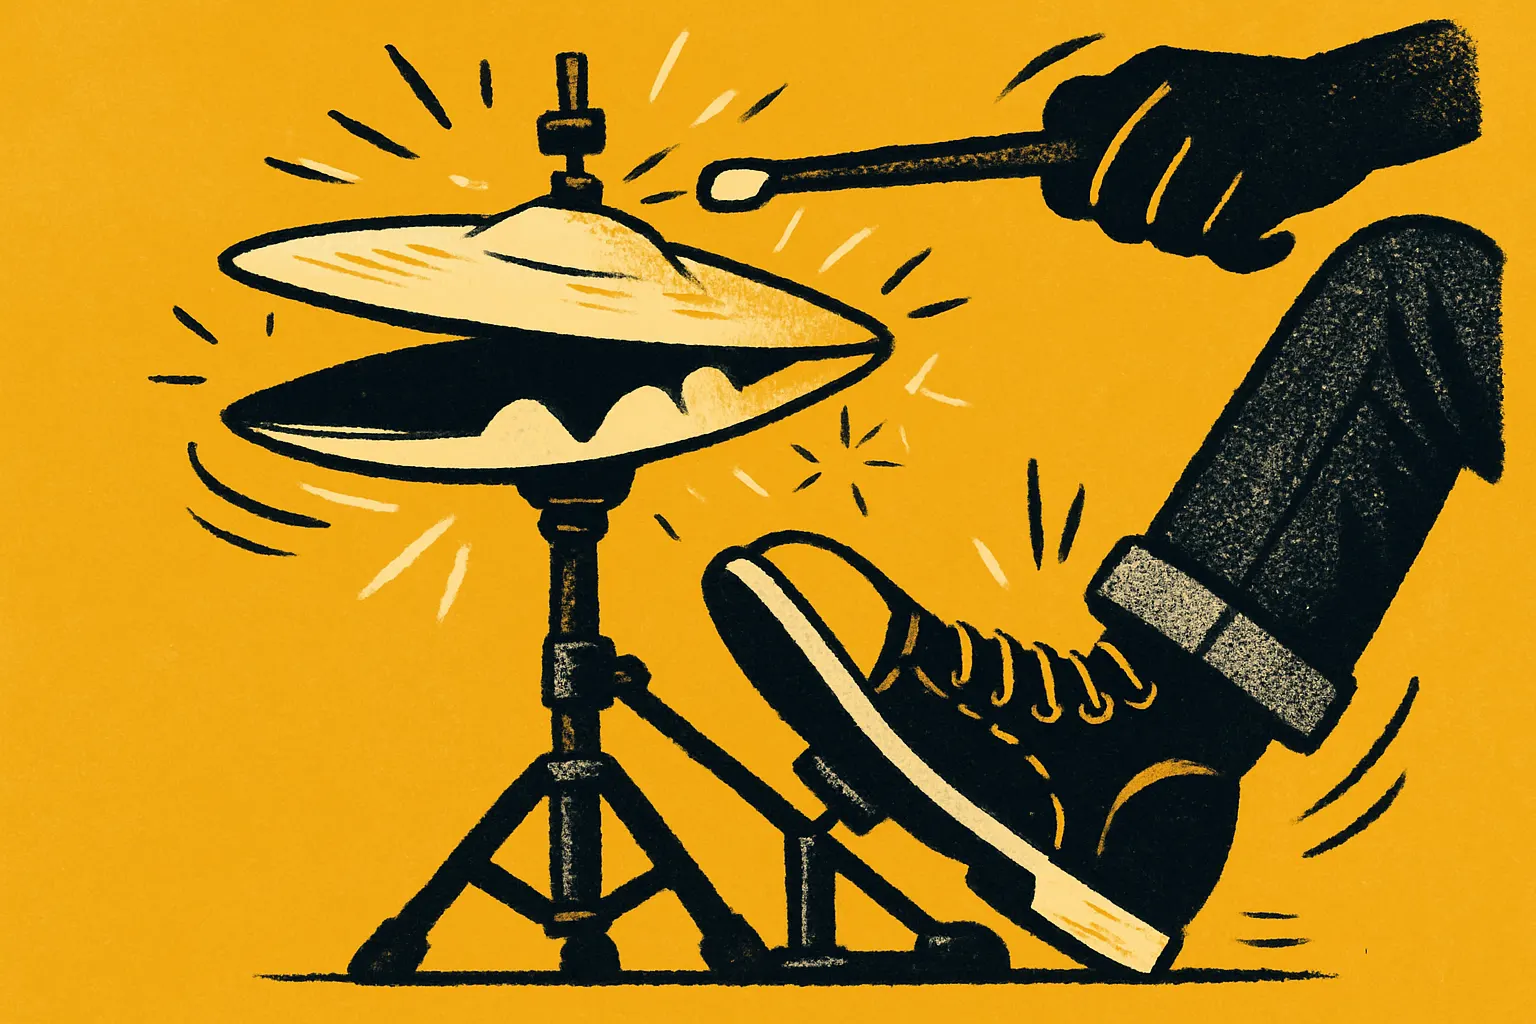
Where it sits on the kit
The hi-hat stand goes on your weaker-foot side — for a right-handed setup, that's the left. Your left foot rests on the pedal, and your right hand reaches across to play the top cymbal. That crossed-arms position is the standard beginner setup, and it's why the hi-hat ends up close to your head and quite loud in your left ear. Plenty of drummers wear ear plugs made for drumming for that reason.
Hi-hats are sold as their own cymbal category, separate from crashes and rides. Cheaper beginner hats are often brass alloy — durable and bright-sounding. More expensive ones are frequently hand-hammered, which is associated with a richer, more expressive sound. Either will teach you the same thing.
The three basic sounds
Everything on the hi-hat is a mix of these:
- Closed — foot pressing the pedal down, cymbals clamped. Short, dry "tick". This is what you'll use in many beginner grooves.
- Open — foot off the pedal, cymbals apart. The stick makes them rattle against each other for a longer sizzle.
- Foot chick — no stick at all. You close the pedal sharply and the cymbals make the sound by themselves. Used to keep time on beats 2 and 4 in a lot of music.
There's also half-open: pedal pressed only part way, so the cymbals touch loosely and you get a sound in between. It takes practice to find and hold, so don't worry about it yet.
How it feels when you start
A few things surprise a lot of beginners here, and none of them mean you're doing it wrong:
- Your foot forgets it exists. As soon as your hands get busy, your left foot lifts off the pedal and your closed hi-hat turns into an open, sloppy wash. Very common.
- The sound keeps changing. One hit is a tick, the next is a clank. That's often the stick landing in a different spot or your foot pressure changing between hits.
- It's louder than you expected. The hi-hat is the closest cymbal to your ears and it's the one you tend to hit most often.
- Your right arm feels cramped reaching across. If your hi-hat is far above your snare, that's worth fixing — see the setup notes below.
How to actually hit it
The top surface (the bow) — hit down onto the flat-ish top of the cymbal, an inch or two in from the edge, with the tip of the stick. This gives you the tight, clicky sound for quiet, steady time-keeping.
The edge — hit the rim of the top cymbal with the shoulder of the stick (the part a few centimetres back from the tip). Louder, fuller, more attack. Use it for choruses and anything that needs to cut.
You can vary the striking point and stick angle to change the sound, and move between positions as the tempo picks up. So don't drill one "correct" spot forever. Play the same pattern on the top, then on the edge, and listen to the difference — that's your volume control before you ever touch a mixing desk.
A few practical points:
- Let the stick bounce off. Don't push it into the cymbal; that's where the choked, clanky sound comes from.
- Keep your foot weight steady on the pedal when you want a consistent closed sound. Changing pressure changes the tone.
- Heel up on the pedal often makes it easier to hold closed. Heel down can work better for foot chicks. Try both.
- Lighter sticks can make it easier to control the hi-hat quietly at first. If you're not sure what you're holding, our beginner drum stick guide covers sizes.
Setting the stand up so this is easier
- Set the top cymbal roughly 5–10 cm (2–4 in) above the snare rim, close enough that your right hand isn't reaching up and over.
- The clutch (the screw-on part holding the top cymbal) should let the top cymbal sit a couple of centimetres above the bottom one when the pedal is up. Too big a gap and closing it feels slow and stiff.
- Tilt the bottom cymbal slightly if your stand allows it. A tiny angle helps the cymbals release air and stops that airlocked "pfft" sound.
- Sit high enough that your left foot rests flat on the pedal without your knee jamming up. A stable drum throne at the right height makes the foot work noticeably easier.
A first exercise (start slow)
Set a metronome to 60 BPM. If that's messy, drop to 50 — there's no speed you have to prove.
Step 1 — closed 8th notes, hand only. Foot down and holding the pedal closed. Count out loud: "1 and 2 and 3 and 4 and", one hi-hat hit per count. Listen for every hit sounding the same. Uneven volume is the thing to fix, not speed.
Step 2 — add the backbeat. Same hi-hat, plus snare on 2 and 4.
Step 3 — add the kick. Kick on 1 and 3. Now you have a basic beat, and the hi-hat's job is to keep it glued together.
Step 4 — one open hit. Play the same groove, but on the "and" after beat 4, lift your foot so that last hi-hat note sizzles, then clamp it shut again on beat 1. That open-then-closed move shows up a lot in real songs.
Step 5 — foot chicks. Take your right hand off the hi-hat entirely. Play kick on 1 and 3, snare on 2 and 4, and close the hi-hat pedal on 2 and 4 with your left foot. This is the exercise that helps your foot stop wandering.
Five to ten minutes of this beats an hour of flailing. You can drill the hand part alone on a practice pad for evenness, though the pad can't teach you the foot side.
Common mistakes
- Foot drifting off the pedal. Your closed hi-hat gradually goes half-open without you noticing. Record a phone video and watch your left foot rather than your hands.
- Bashing the edge for everything. It's loud, it wears out sticks and cymbals faster, and it flattens all your dynamics. Save the edge for when you want more.
- Burying the stick. Pressing into the cymbal instead of letting it rebound makes the sound dead and makes your hand tire faster.
- Hitting a different spot every time. Varying the striking point on purpose is a tool. Varying it by accident just sounds inconsistent.
- Cymbals cranked too far apart. A huge gap means your foot has to travel a long way for every close, which slows down everything else.
- Ignoring the foot entirely. It's tempting, because the hands make the obvious noise. The left foot does a lot to make grooves sound tight.
Hi-hats on electronic kits
On an electronic drum set, the hi-hat is a rubber or mesh pad plus a separate pedal that tells the module how open the cymbal is. Cheaper sets often only give you "open" or "closed" with nothing in between; better ones read the pedal continuously so half-open works. Foot chicks may or may not trigger a sound depending on the kit, so test that before you assume your technique is at fault.
Because you'll be monitoring through headphones for electronic drums, be aware the hi-hat pad still makes real acoustic noise when you hit it — the stick-on-rubber slap and the pedal thumping the floor. In a flat, a riser or anti-vibration mat helps with the pedal side of that.
Worth knowing: hi-hat sounds are also everywhere in recorded and electronic music as loops and samples, not just on acoustic kits. So the tick you're learning to play is the same sound you've heard in tracks that never had a drum kit in the room.
What to take away
The hi-hat is a two-cymbal, one-pedal instrument. Hands control the sound's shape and volume through where and how you strike it. The foot controls how open it is. Getting those two working together — evenly, at a slow tempo, without your foot drifting — is the whole beginner task. Once it's steady, a lot of simple songs start to feel playable.